Configure your shade sail online
Design, shape, fabric. Ready in 5 days.
Scopri di più
Discover our fabrics! Order samples and feel the quality for yourself
FIXED SHADE SAILS
ROLL-UP SHADE SAILS
OUTLET & ACCESSORIES
SAILS BY SHAPE
BUYING GUIDE
INSTALLATION GUIDE
APPLICATIONS
BUYING GUIDE
CUSTOM ROLLER SHADES
STANDARD ROLLER SHADES
BUYING GUIDE
BUYING GUIDE
Shade sails
How many times have you not purchased a shade sail because you thought installation was difficult and complicated?
The design, as well as the installation, can be done by anyone simply following the advices and the basic rules that you will find below.
The choice of an outdoor shade sail allows you to create a protected and shaded space without having to resort to permanent masonry, maintaining a superb quality / price ratio.
Below you will find all the information you need to plan, install and maintain the shading coverage at best. On the side you will find an explanatory video of an installation.

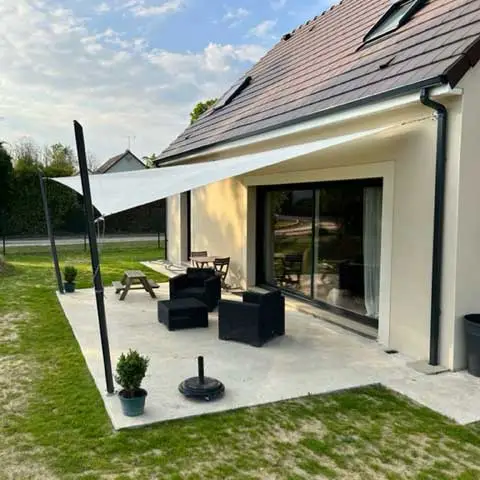
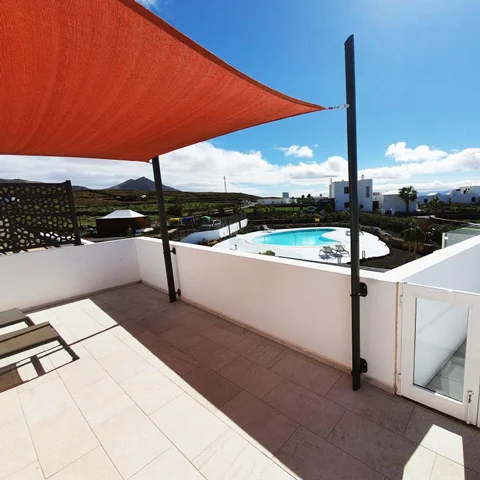
The installation of a shade sail can be done practically anywhere!
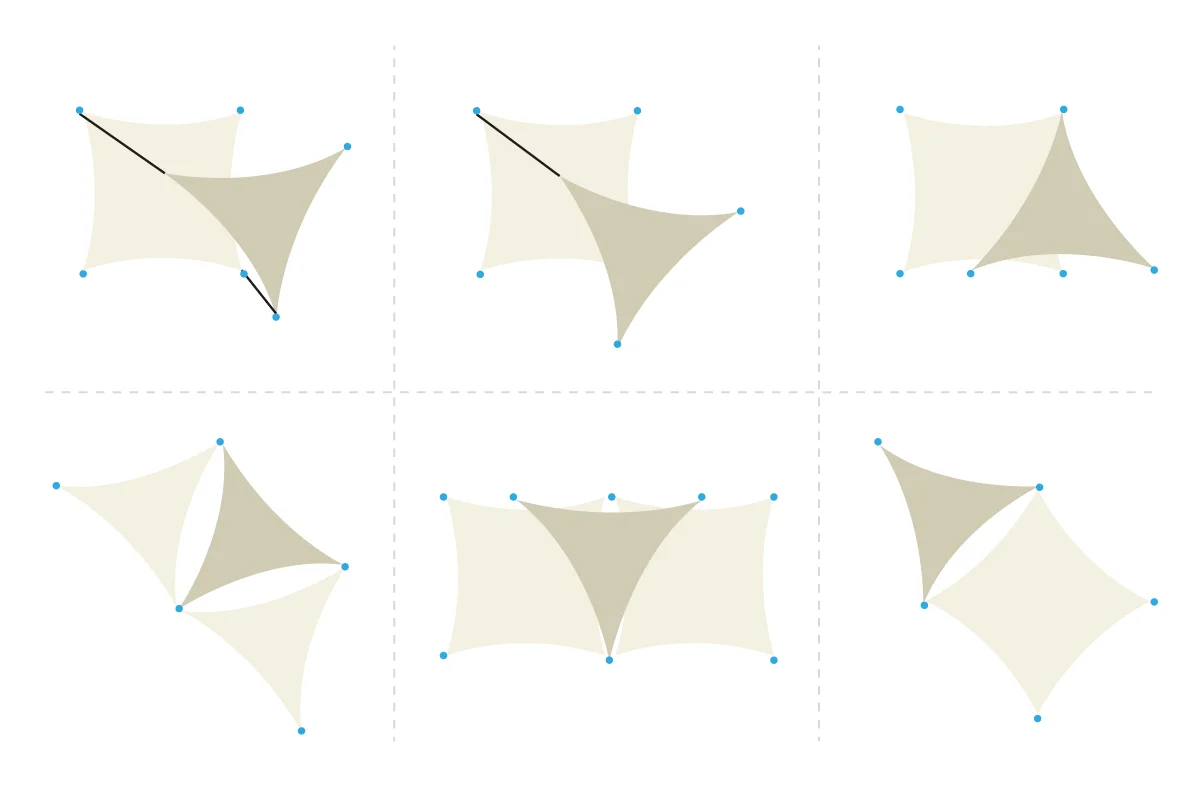
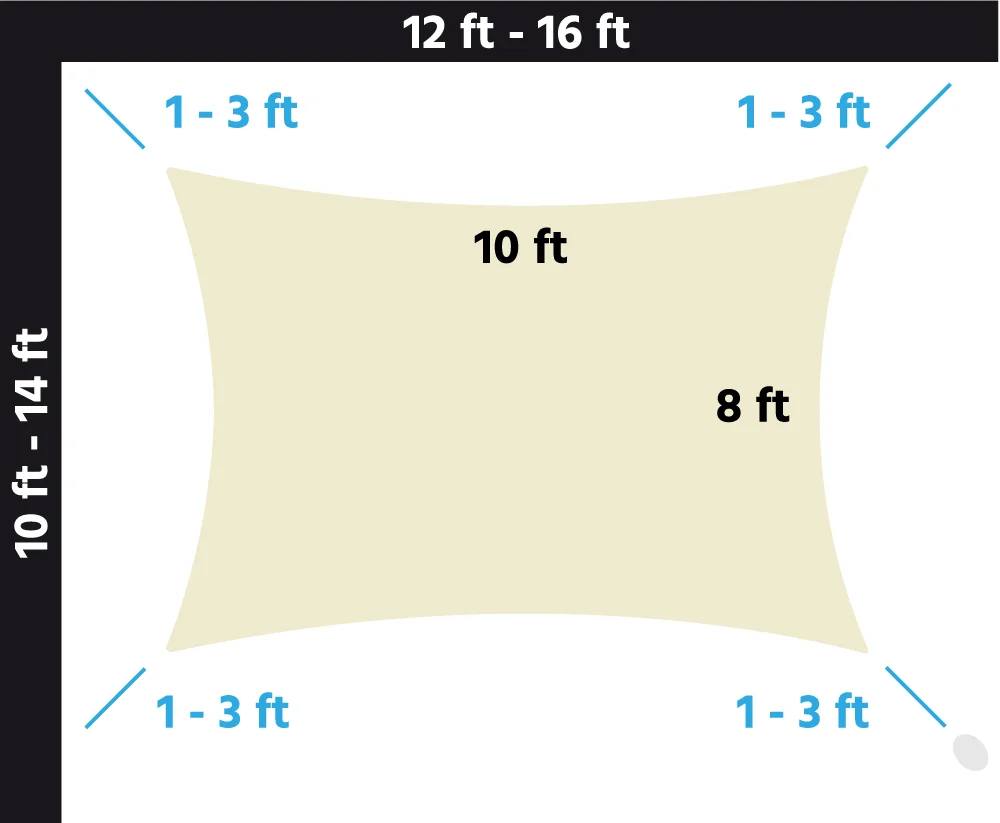
The sails can fit small areas of a few square feet, up to larger areas using compositions, tiling and overlapping to obtain unique effects!
On the side you will find graphic designs that reproduce only some of the infinite possibilities of installation.
Once the area to be covered has been decided, we move on to identifying the anchor points of all the edges of the sail.
Here too we have a wide choice, as the sail can be anchored to existing structures (walls - poles), as long as it can withstand the traction force of the sail, or you can resort to poles for shade sails (click here for the catalog), which are also correctly positioned and resistant.
Always provide one corner at a lower height than the others; this allows rainwater to drain away properly. We recommend tilting the flap by 25%.


Proper sail tensioning is essential to achieve a flawless aesthetic result and optimal performance in terms of wind, rain or hail resistance.
The advantages of a well-stretched sail are:
You can learn more with our guide "How to tensiona shade sail correctly."
Let's now look at the various accessories to be able to anchor our waterproof or shade sails depending on the surfaces you have available.
Depending on your space, you can take advantage of any walls to anchor your shade sail with the help of the special plates contained in our wall kits.
Alternatively, you can use our support poles, specially created for sturdy and professional fixing of sail tents.

All Maanta wall kits contain a very strong galvanized or stainless steel anchor plate.

Use the sturdy and elegant Maanta poles to professionally and permanently anchor your shade sail:
Understanding the distances between anchorage and sail corner is very simple!
We recommend laying the garden sail on the ground to locate the correct spot of the anchors, which should be found respecting the continuation of the diagonals (see figure at right).
This expedient will allow us to tension the fabric properly and achieve an optimal aesthetic result.
In addition to the size of your sail, a minimum of 1 ft to a maximum of 3 ft distance between the sail corner and the fixing point should be provided. This will allow the placement of the attachment accessories (we recommend our Muscle x3 system).


The wall anchor consists of plates available in either galvanized or stainless steel, equipped with an eyelet to connect the sail corner.
Below are the 4 steps for installing the wall plate.
1 • Drilling the wall
Locate the fixing points and drill the wall with a Ø12 drill bit.


2 • Chemical anchor
Remove dust from the holes and apply the chemical anchor with the appropriate gun.

3 • Threaded rods
Insert M10x12 threaded rods and let stand for at least 30min.

4 • Lay the plate
Lay the plate by fixing the nuts on the threaded rods.
In the first video we present the connection between plate or pole, to the sail.
In the second you will understand the simplicity of installing the wall plate with threaded rods.
Maanta recommends its exclusive Muscle x3 Kit for professional wall anchoring.
Muscle x3 provides optimal sail tensioning and is extremely functional due to its quick-release hook-and-loop mechanism.
Alternatively, we offer our Simple wall kits with turnbuckle and carabiners or with nautical rope.

Recommended by Maanta!
Includes:
Available in stainless steel or galvanized.

Effectiveness at an unbeatable price.
Includes:
Available in stainless steel or galvanized.

Flexibility with adjustable length.
Includes:
Available in stainless steel or galvanized.

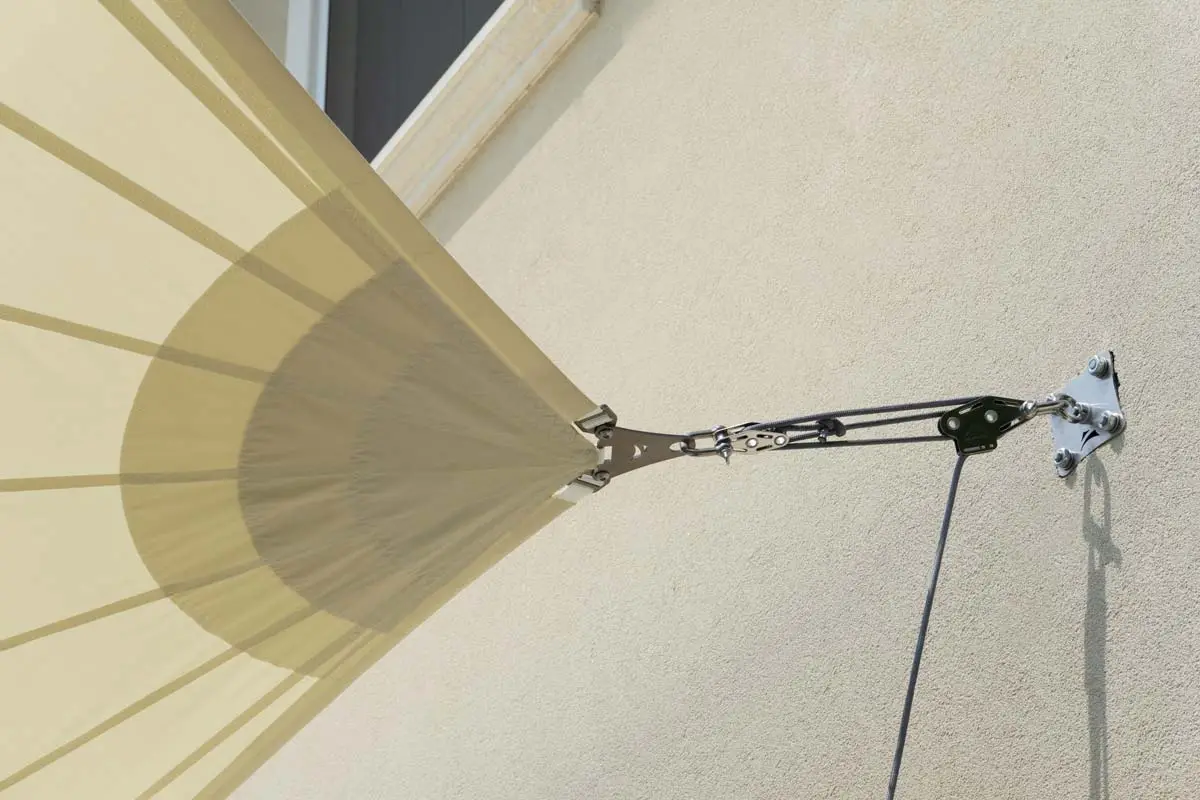
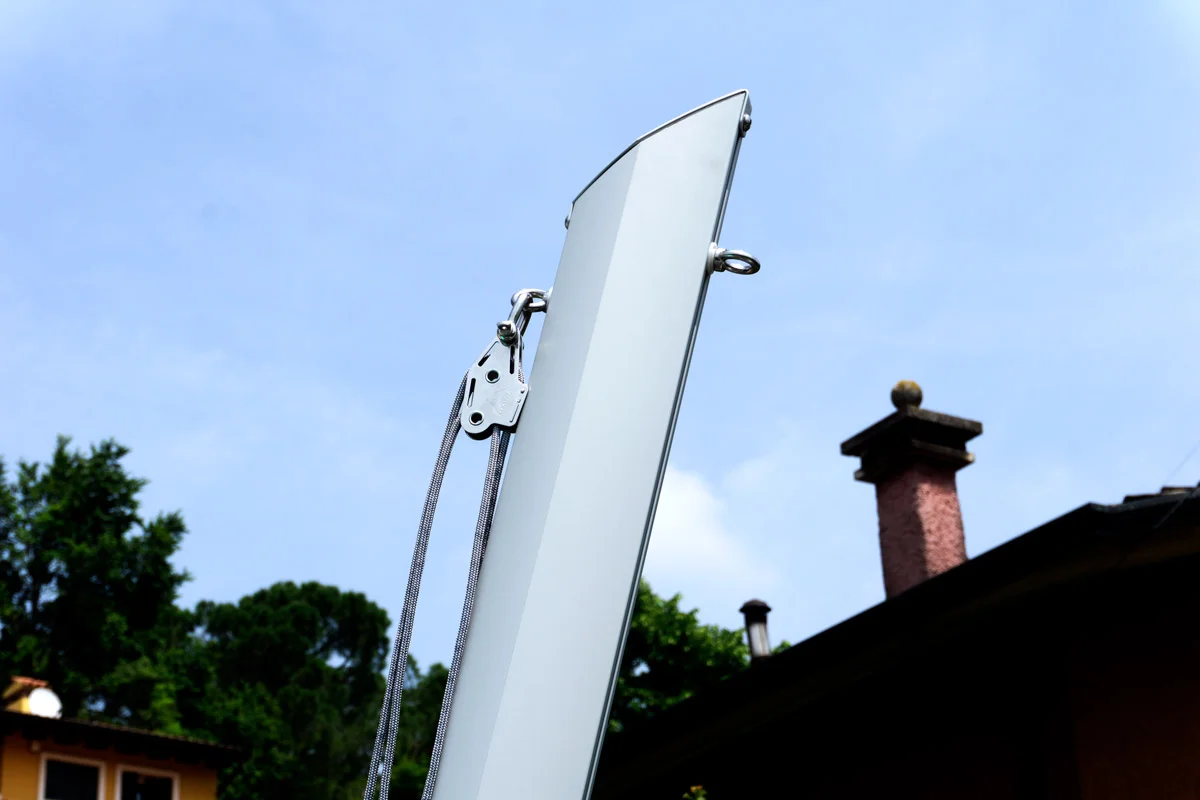
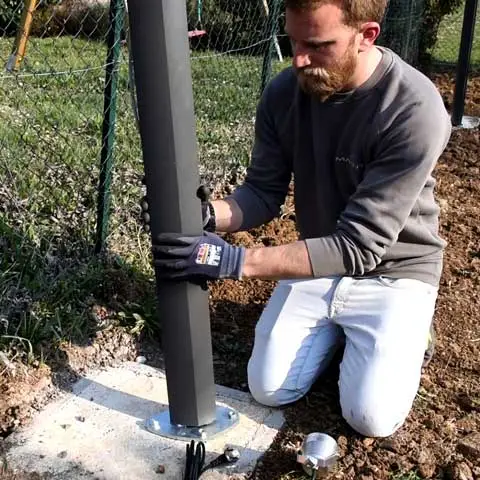
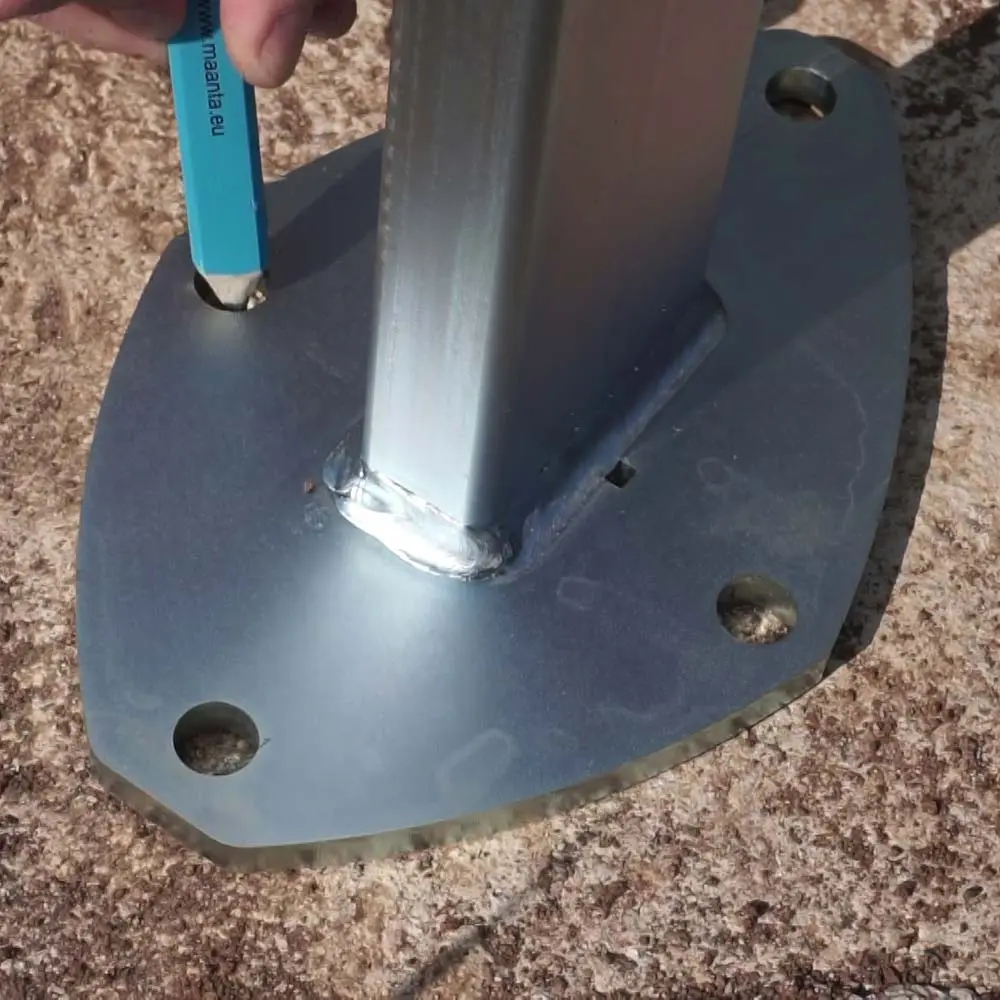
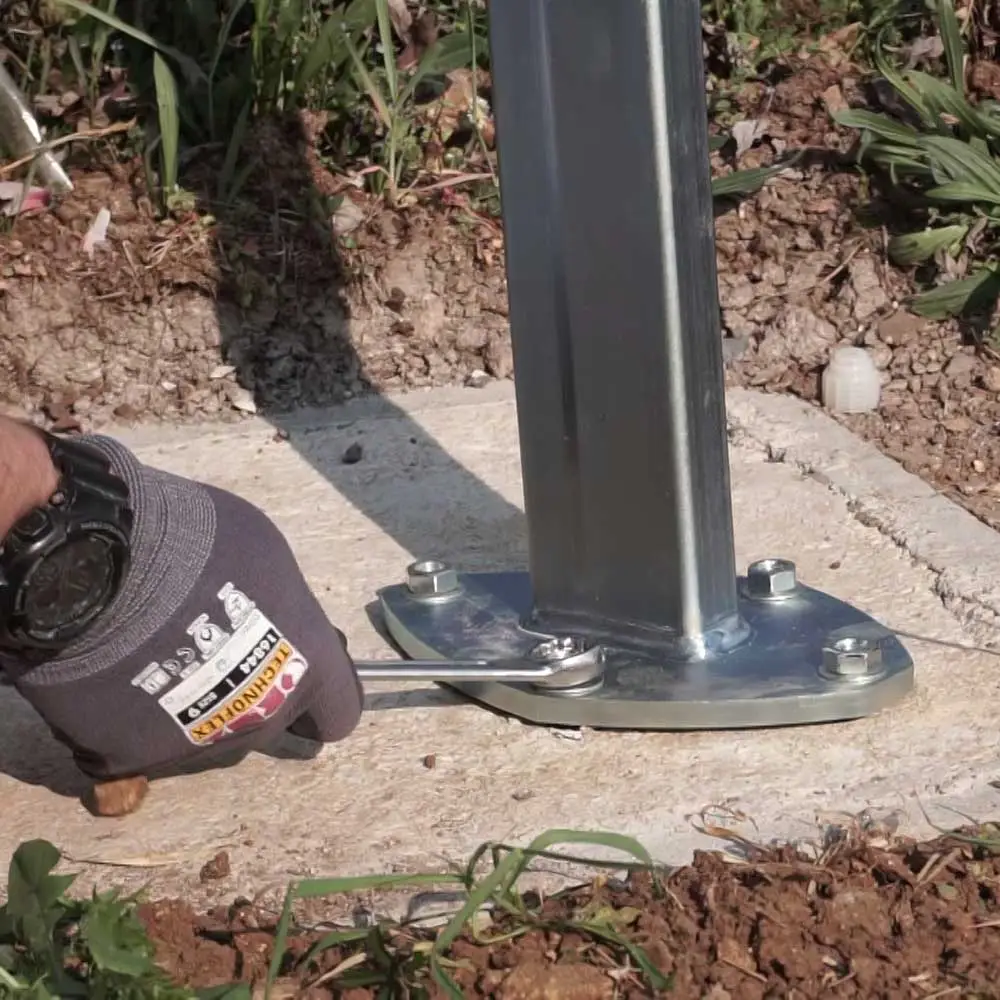
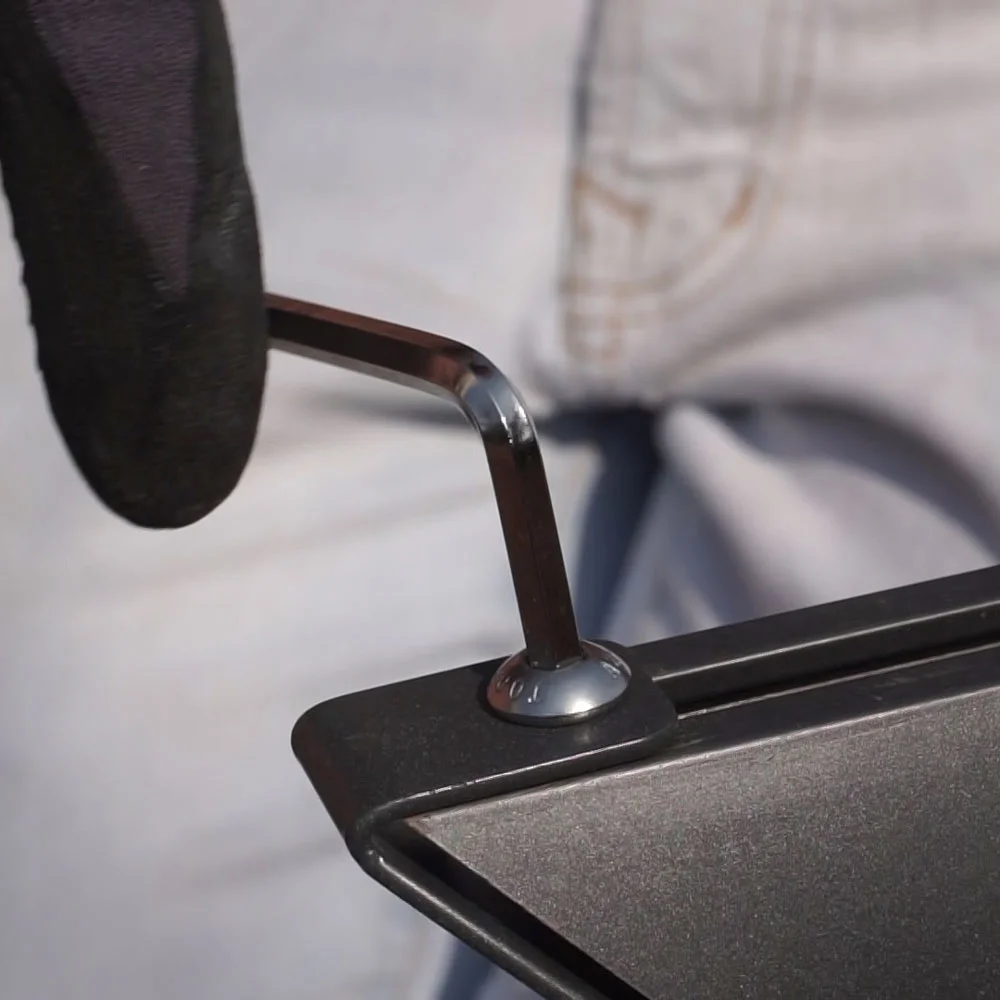
Maanta poles are available in both aluminum and steel; both versions are designed to withstand the tension of the shade sail.
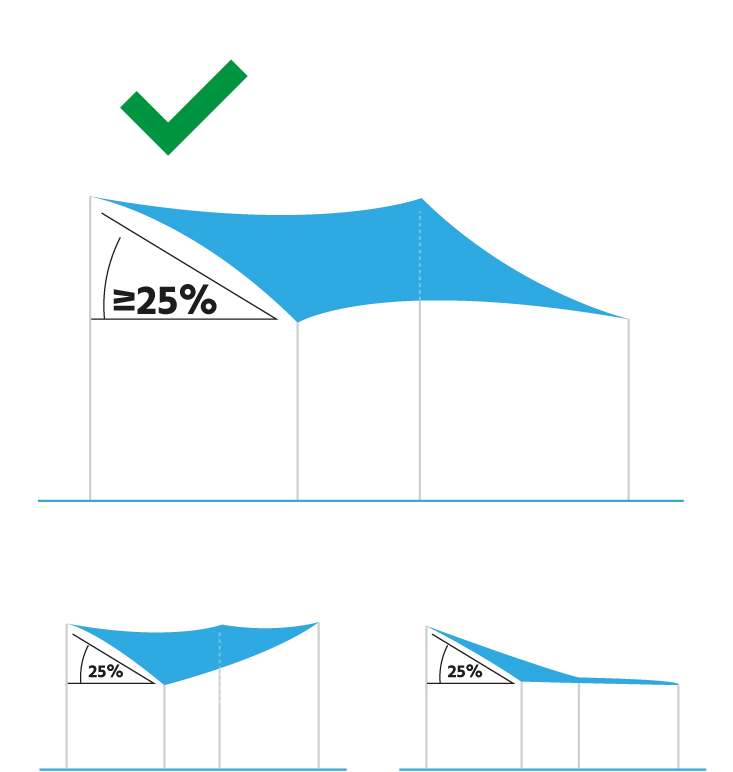
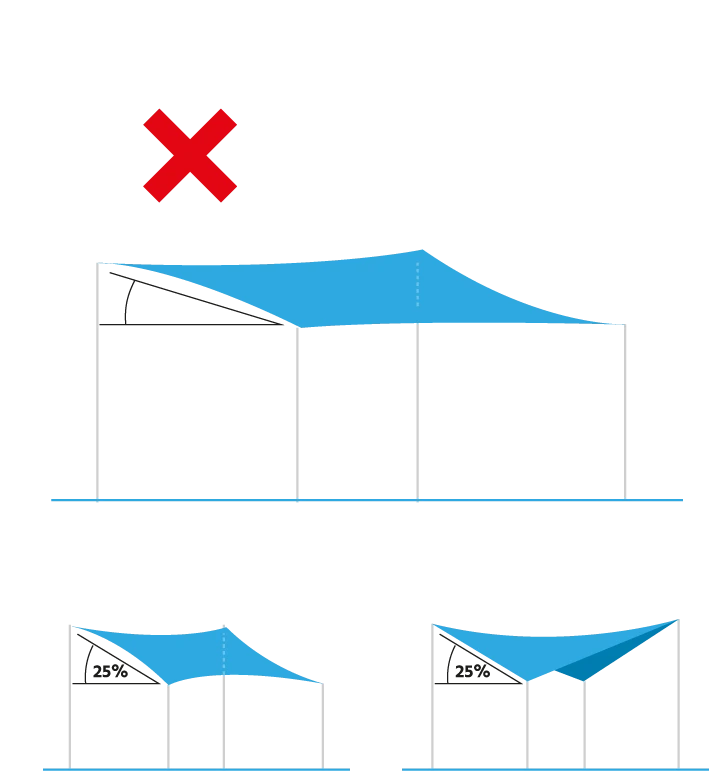
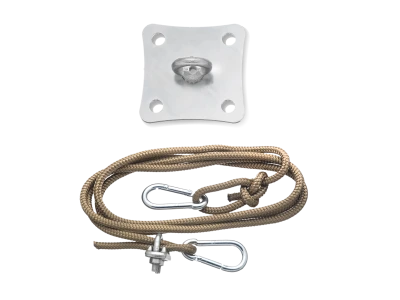
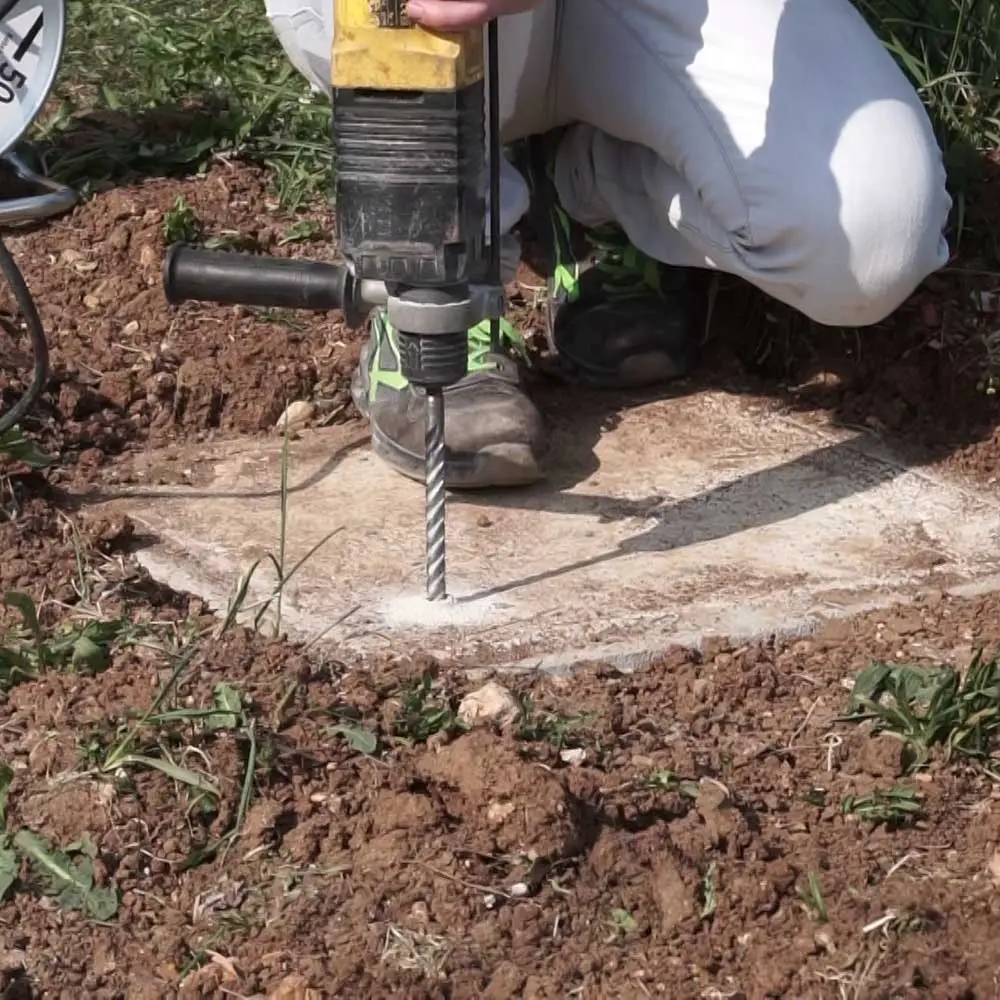
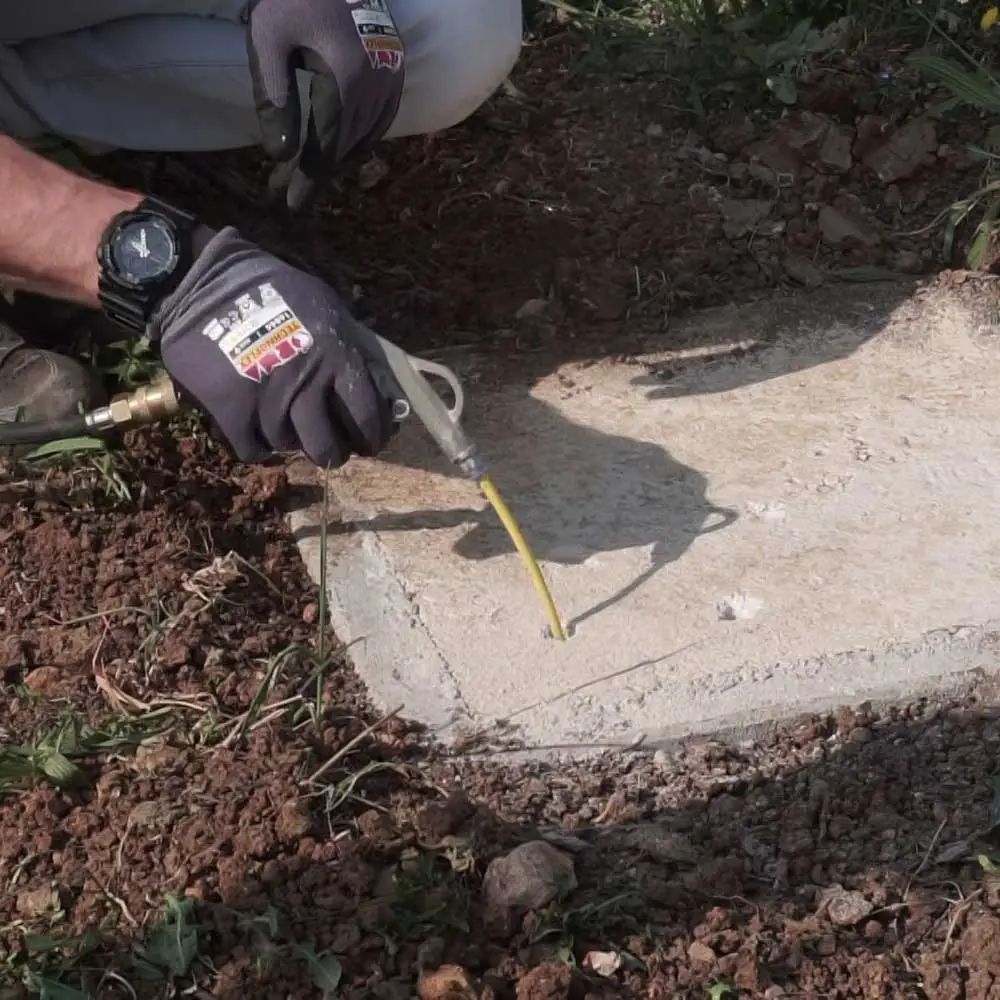
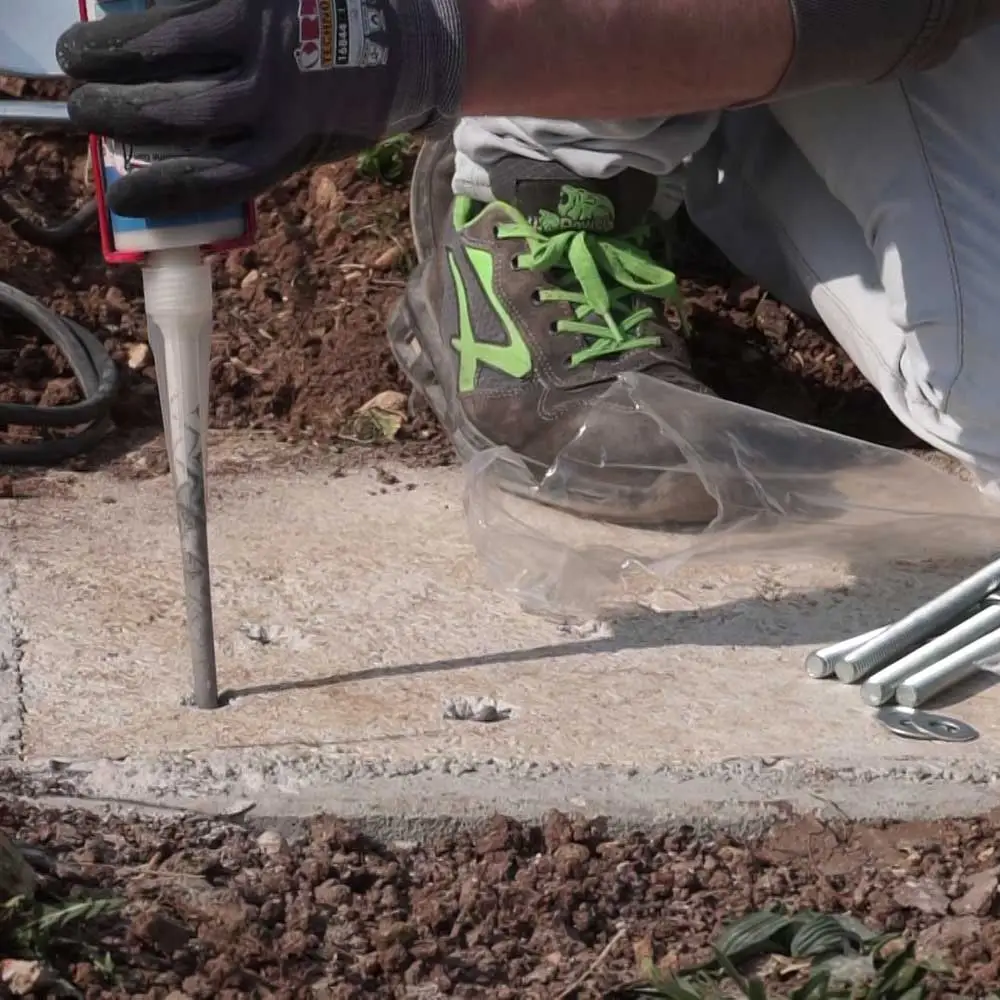
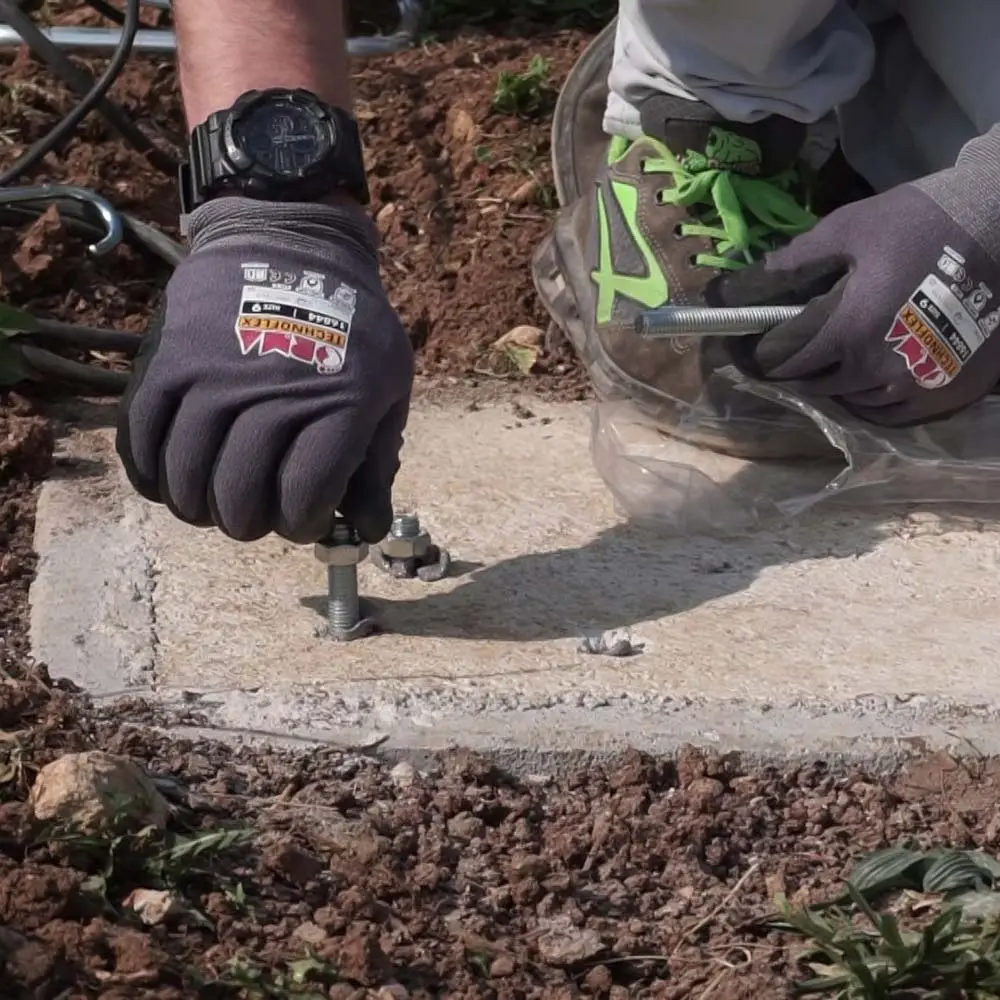
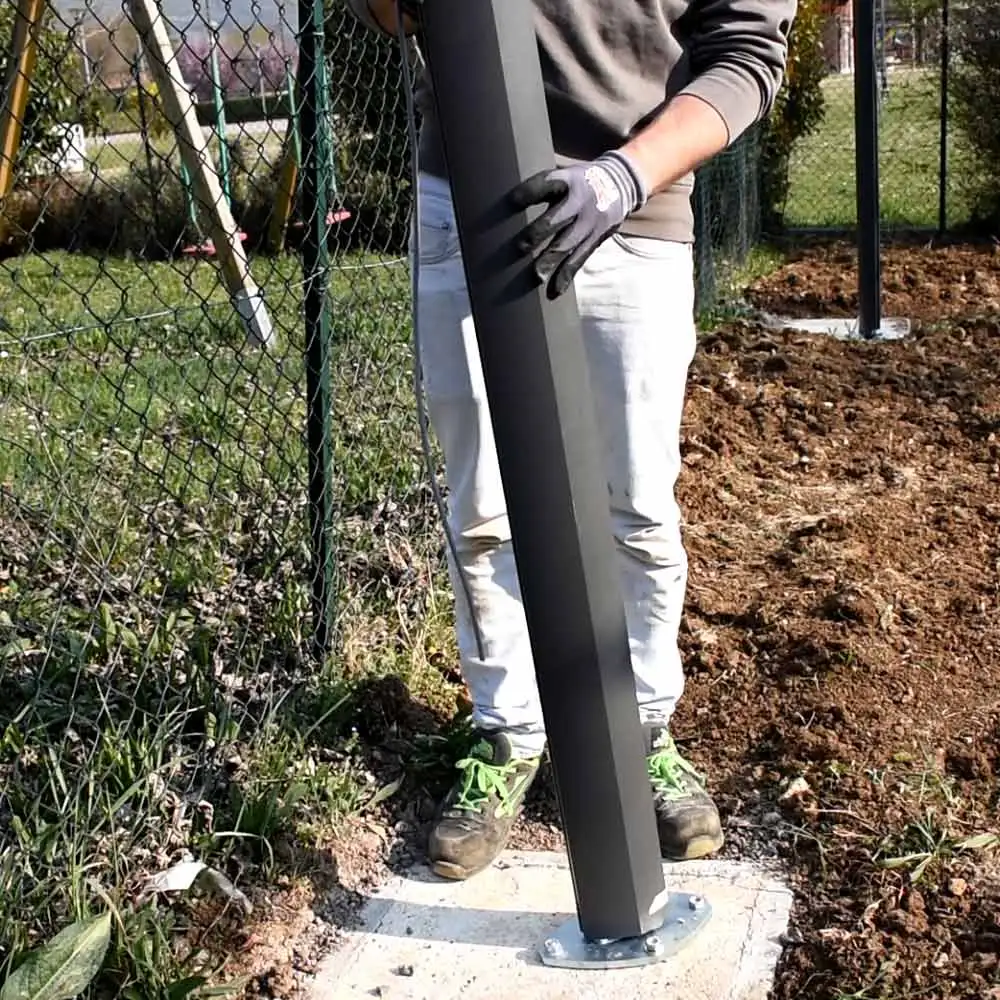
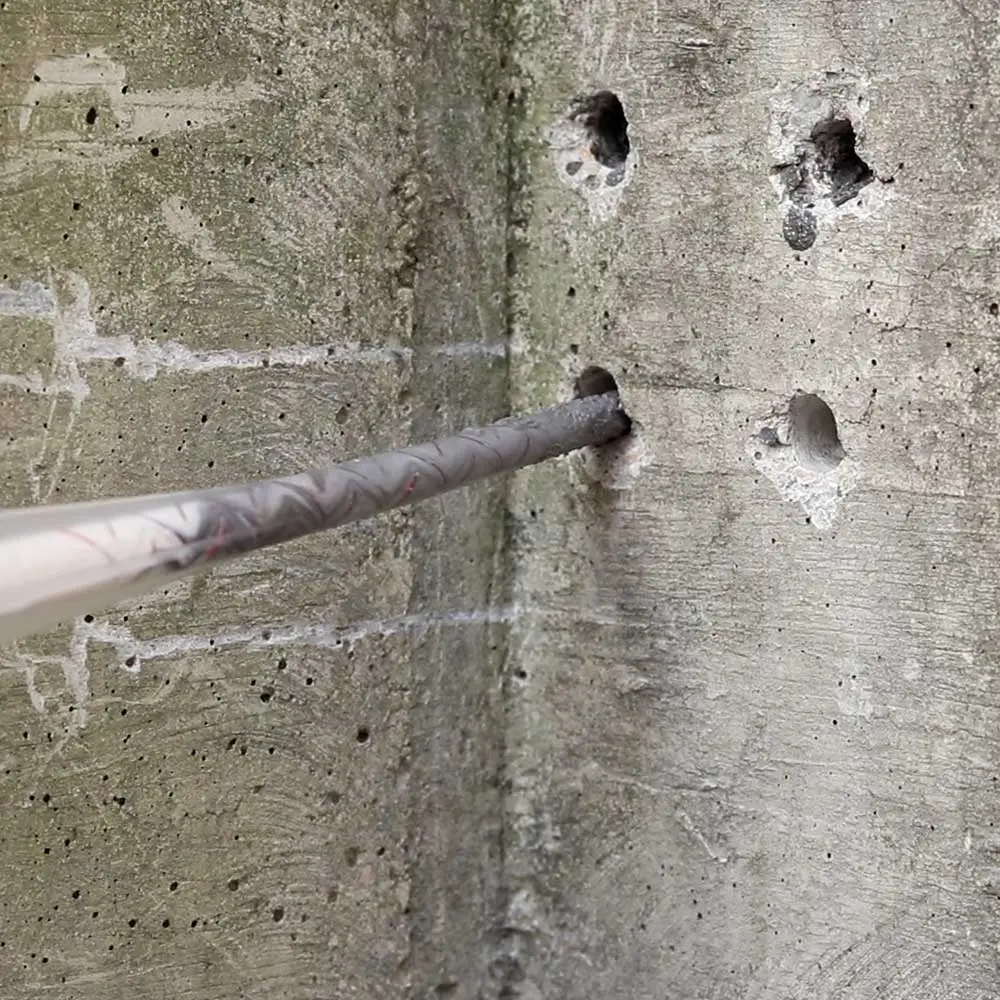
The placement of a pole should be planned on a plinth or cemented surface that can withstand the tensile stresses produced by the sail.
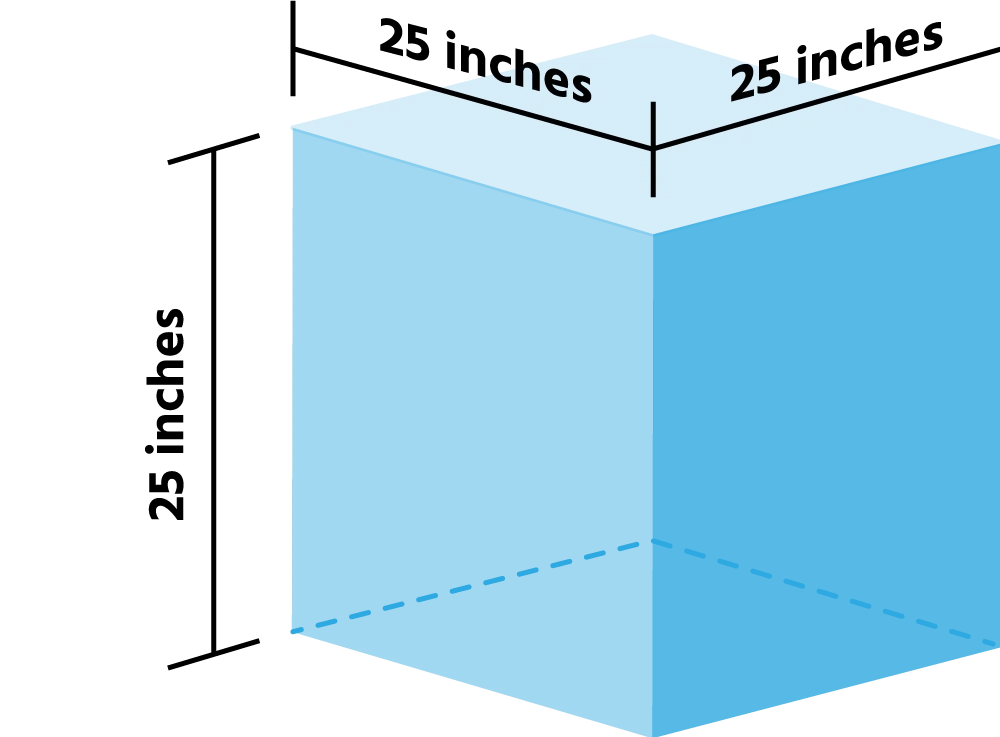
If a dedicated plinth is to be constructed, we recommend the following measurements: 25" x 25" x 25" (or larger).
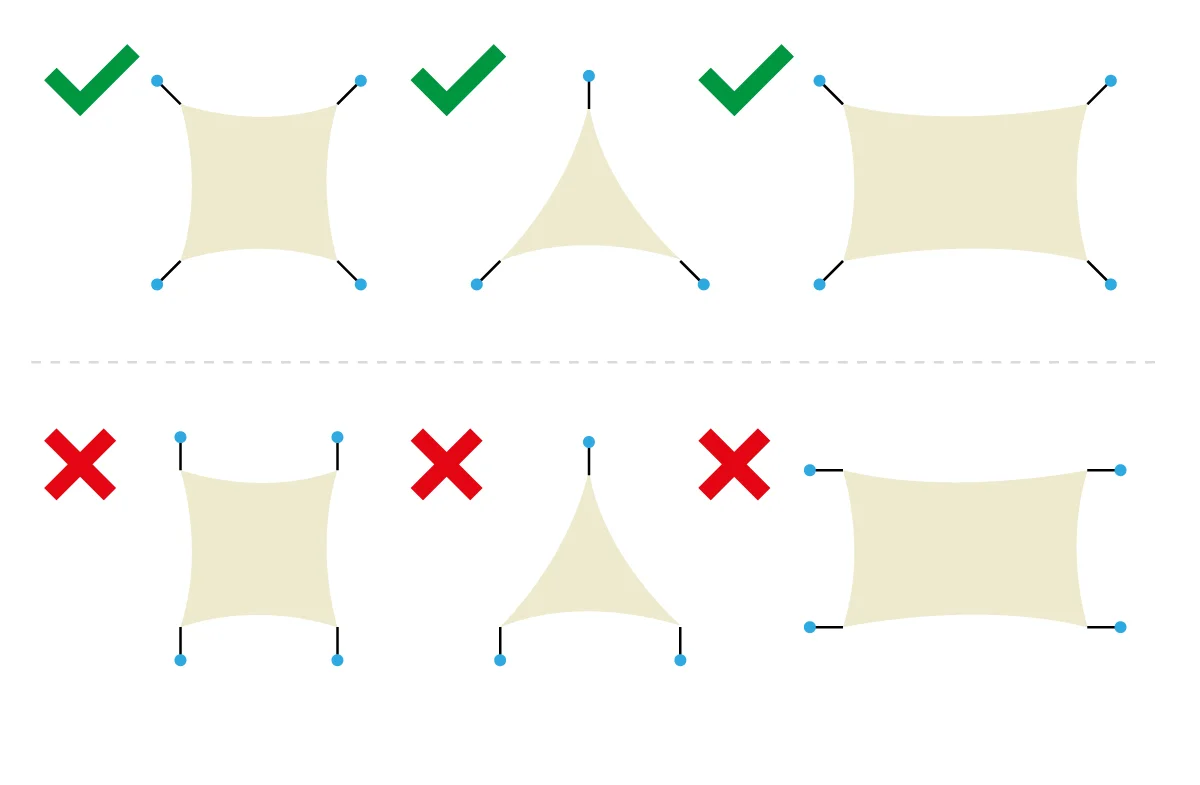
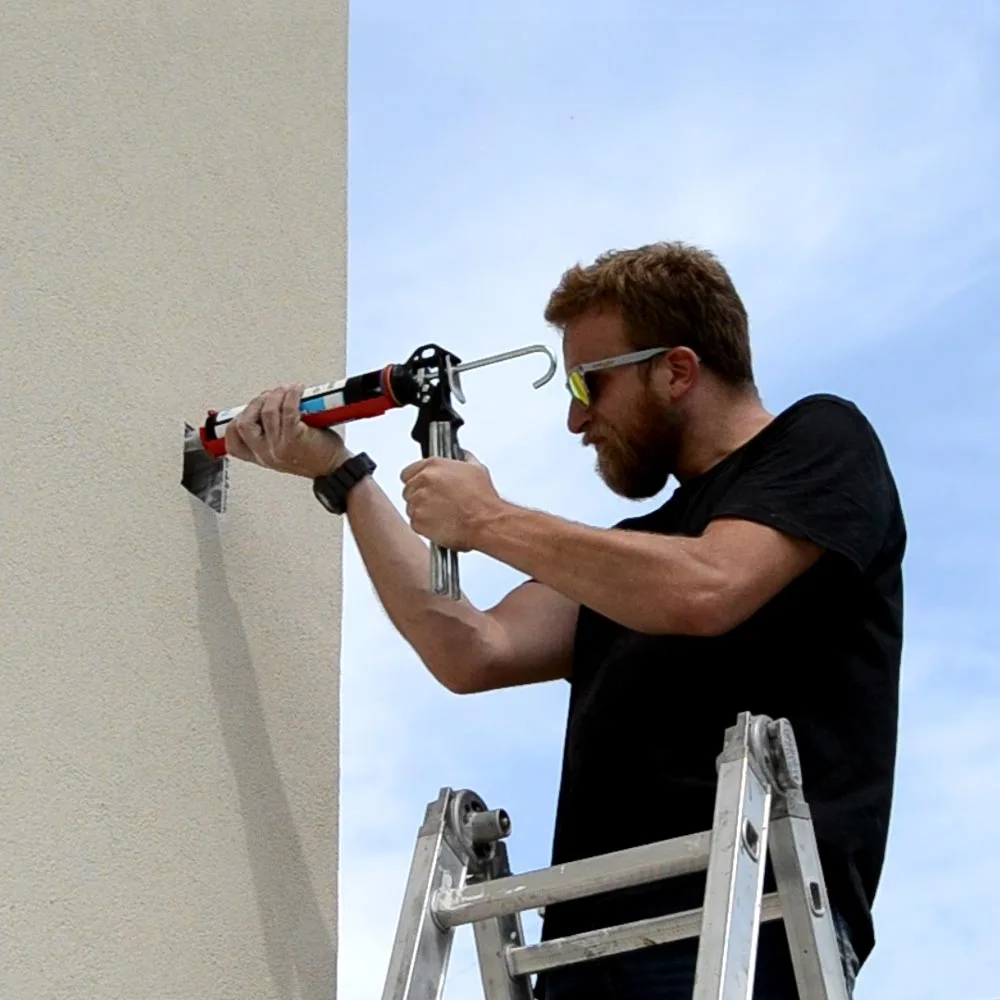
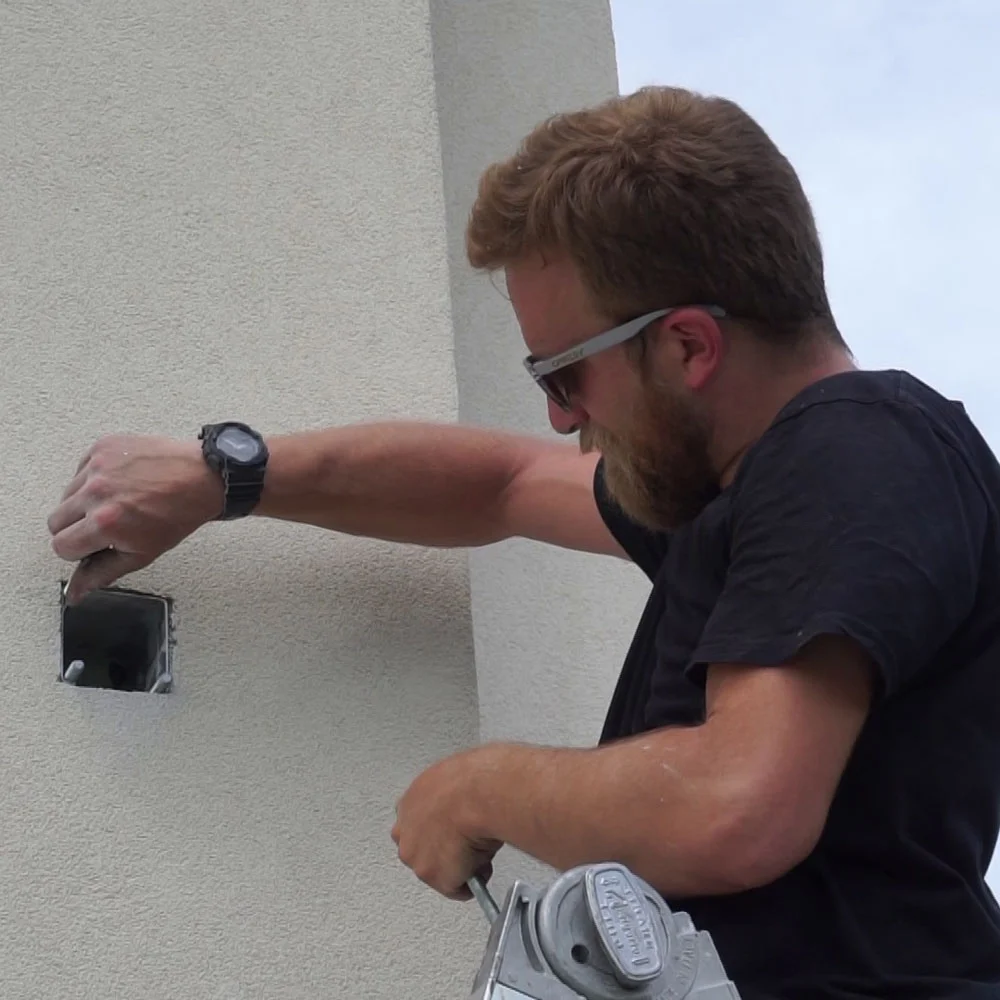
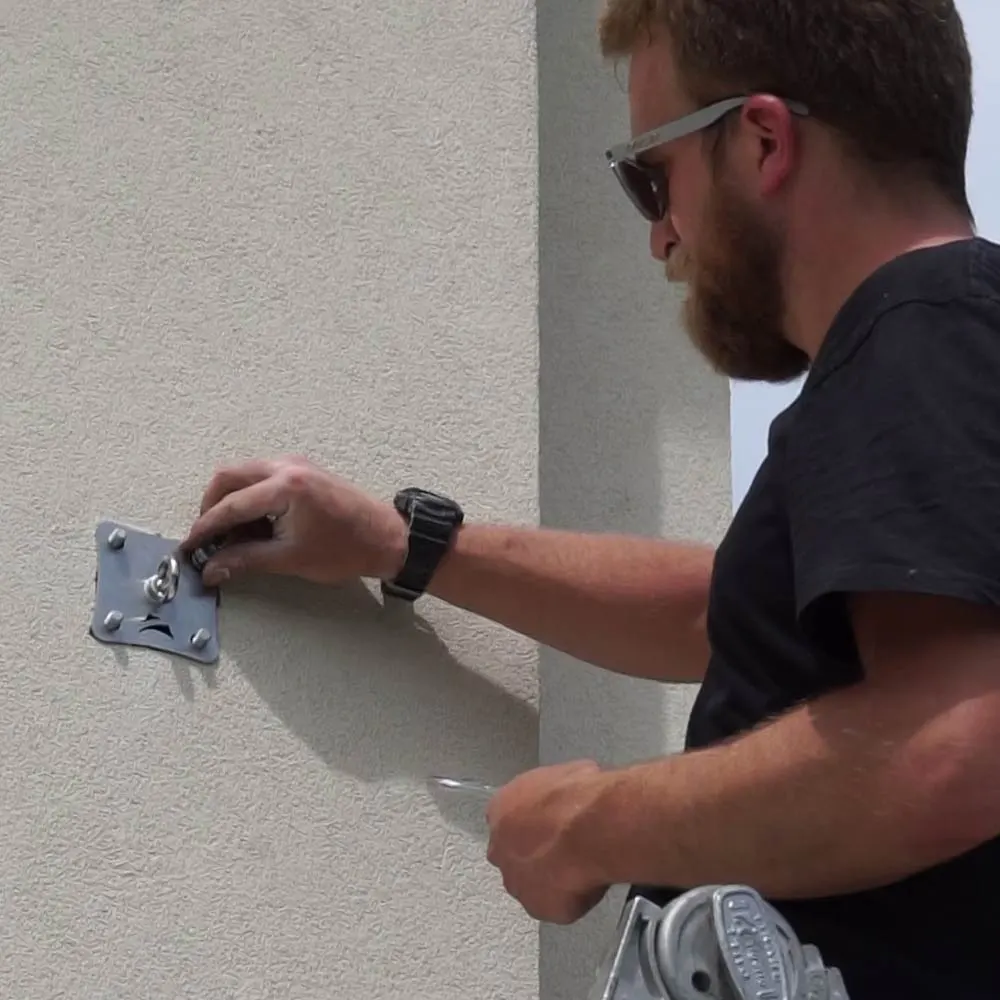
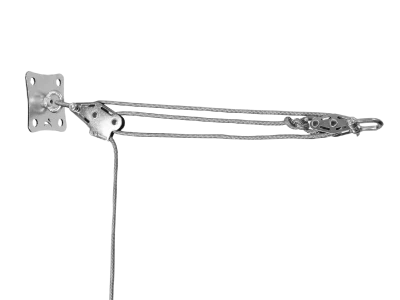
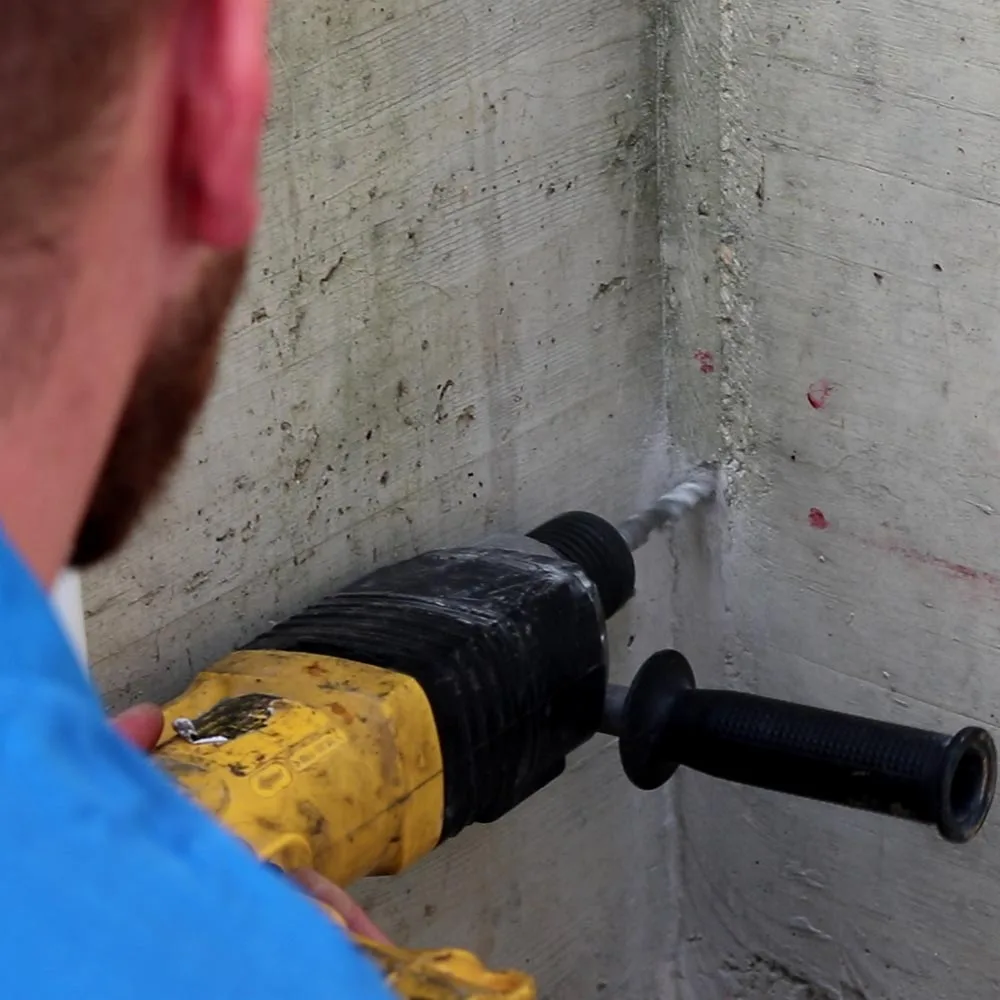
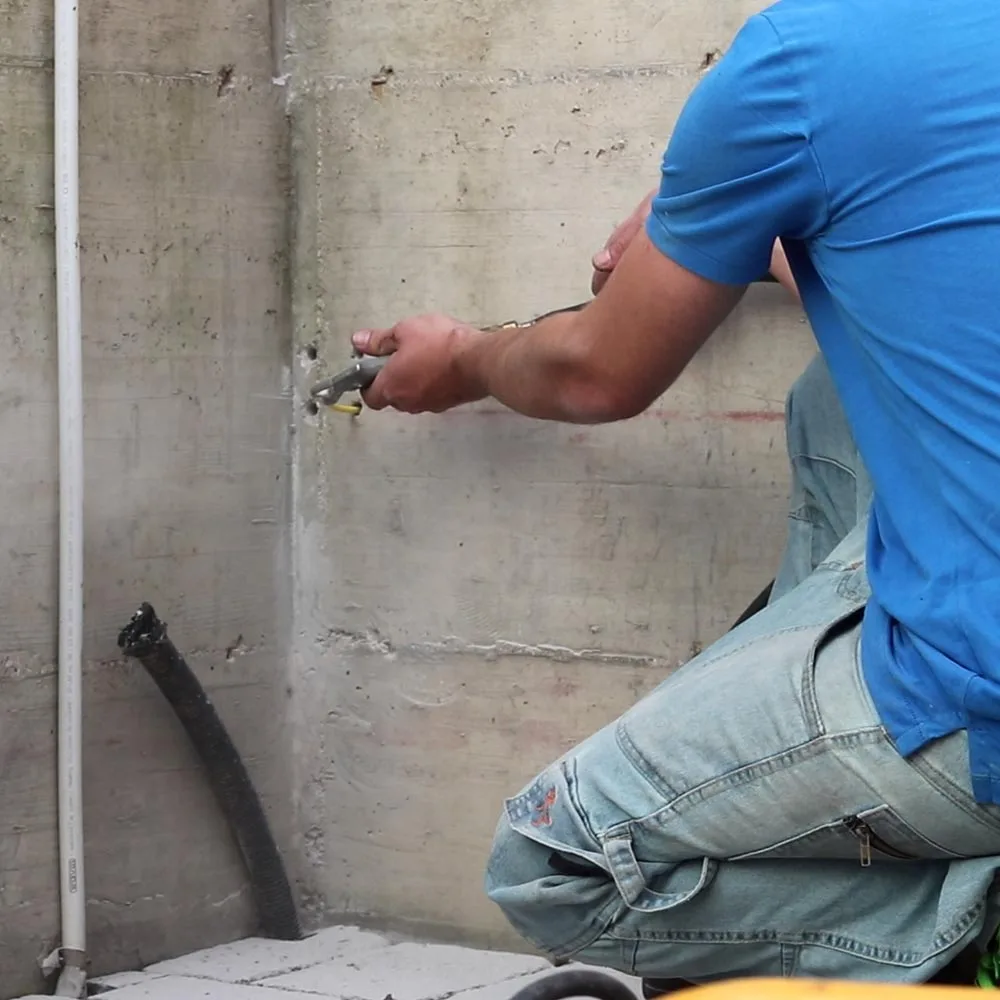
Below are the three main types of fixing: on reinforced concrete, on concrete plinth, and on perimeter walls.

Reinforced concrete
Extended concrete surface at least 6" thick.

Concrete plinth
Concrete plinth measuring at least 25"x25"x25".

Perimeter walls
Perimeter walls, sturdy and at least 18" high.
The installation of the base on the concrete plinth or on reinforced concrete consists of 8 steps.
The following is a step-by-step guide.

1 • Locate position
Locate the attachment points, orienting the pole toward the center of the sail.

2 • Drilling the well
Drill the concrete manhole with Ø14 drill bit.


3 • Chemical anchor
Clean the holes and fill them with the chemical anchor.

4 • Threaded rods
Insert M12x13 threaded rods and let stand for at least 30min.

5 • Screw base
Lay on the threaded rods and tighten the 4 nuts.

6 • Eyebolt and Muscle x3
Insert the eyebolt into the lanes, attach the Muscle x3 tensioning kit.

7 • Cap
Secure the cap by threading on 2 T-nuts and tightening the 2 screws.

8 • Pole assembly
Finish the pole assembly following the instructions.
To install the pole on vertical wall, no base is needed, but a system called 'wall collar' is required.
The installation is similar to the previous one, only the fixing position differs.

1 • Locate position
Identify the fixing points.

2 • Drilling the well
Drill the perimeter wall with a Ø14 drill bit.


3 • Chemical anchor
Clean the holes and fill them with the chemical anchor.

4 • Threaded rods
Insert M12x13 threaded rods and let stand for at least 30min.

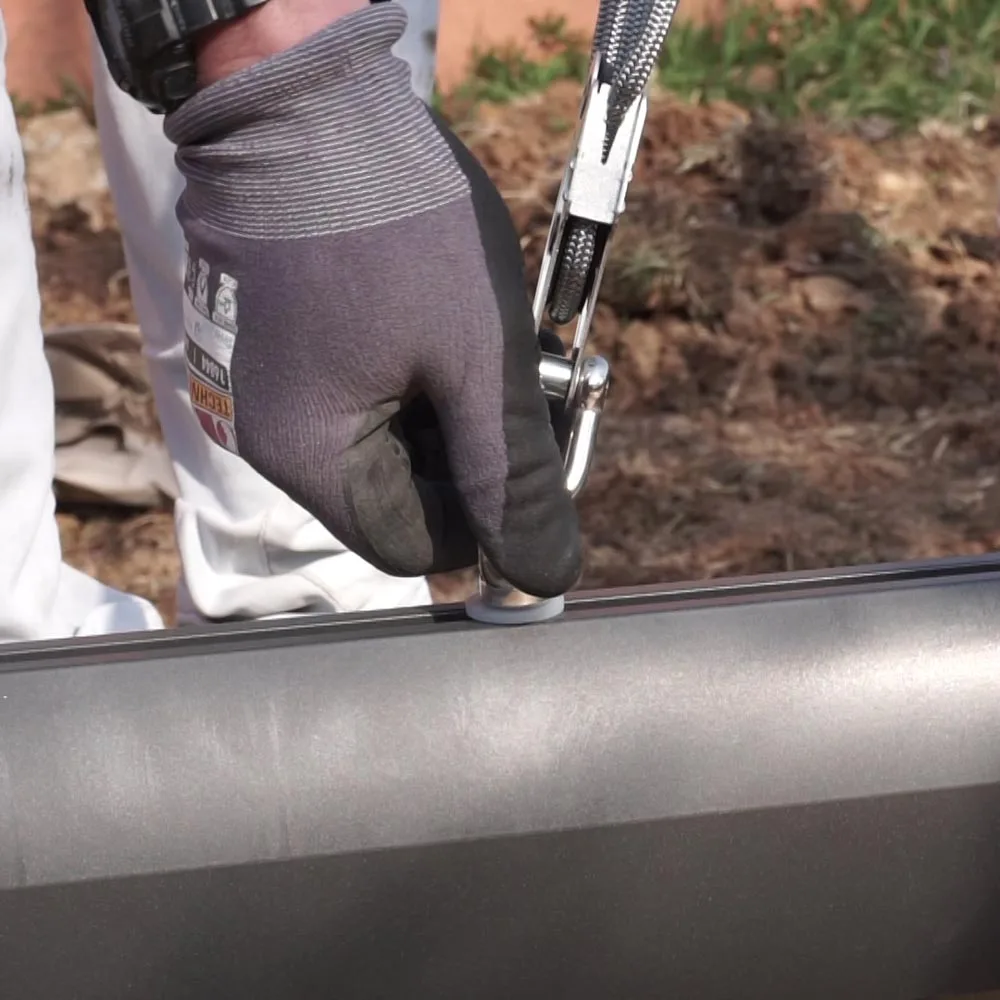
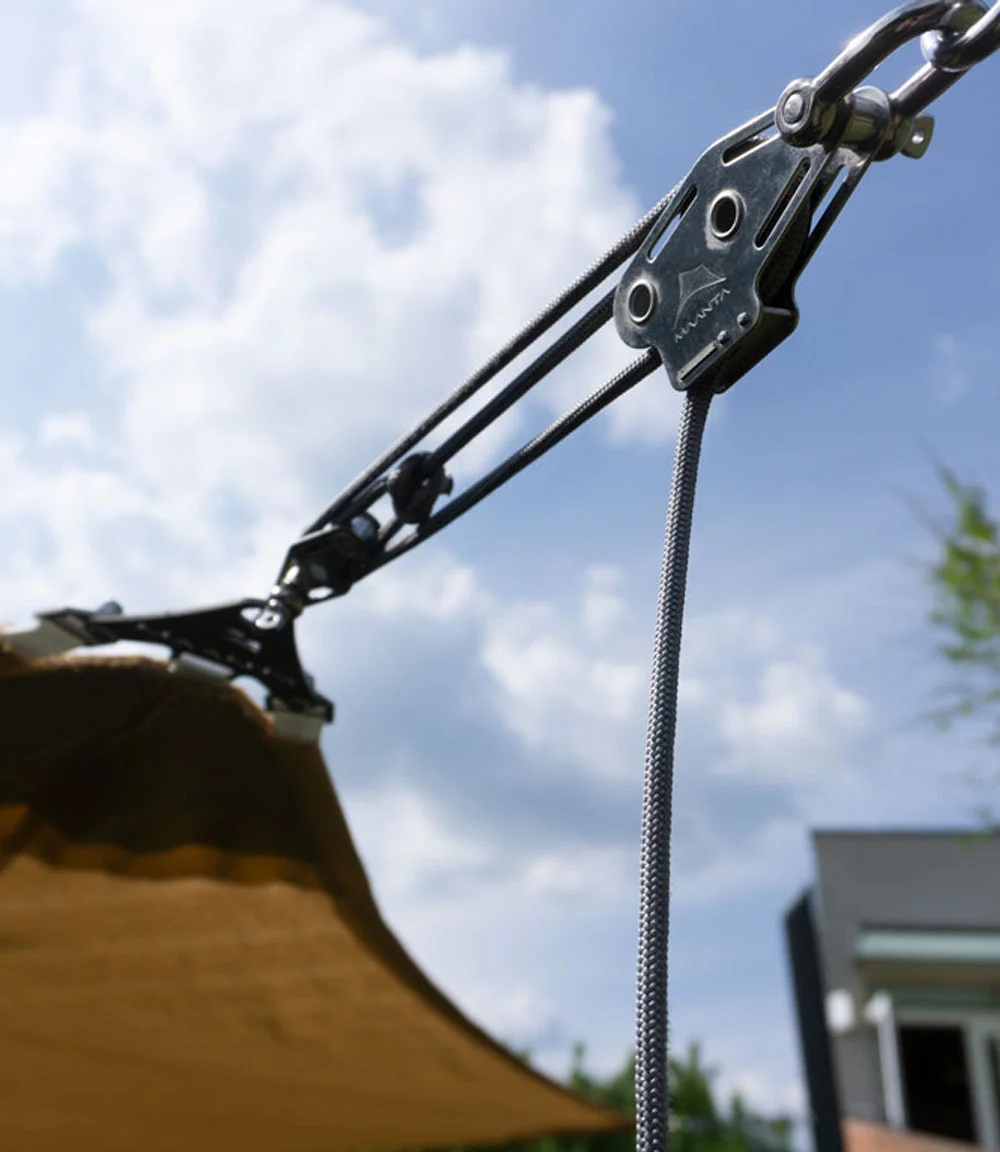
Sails can be removed at any time, and this operation presents no difficulty and is done in very few minutes.
The first step is to loosen the tension of a single flap, and then proceed to release the shade sail from all anchors for later storage in its package.
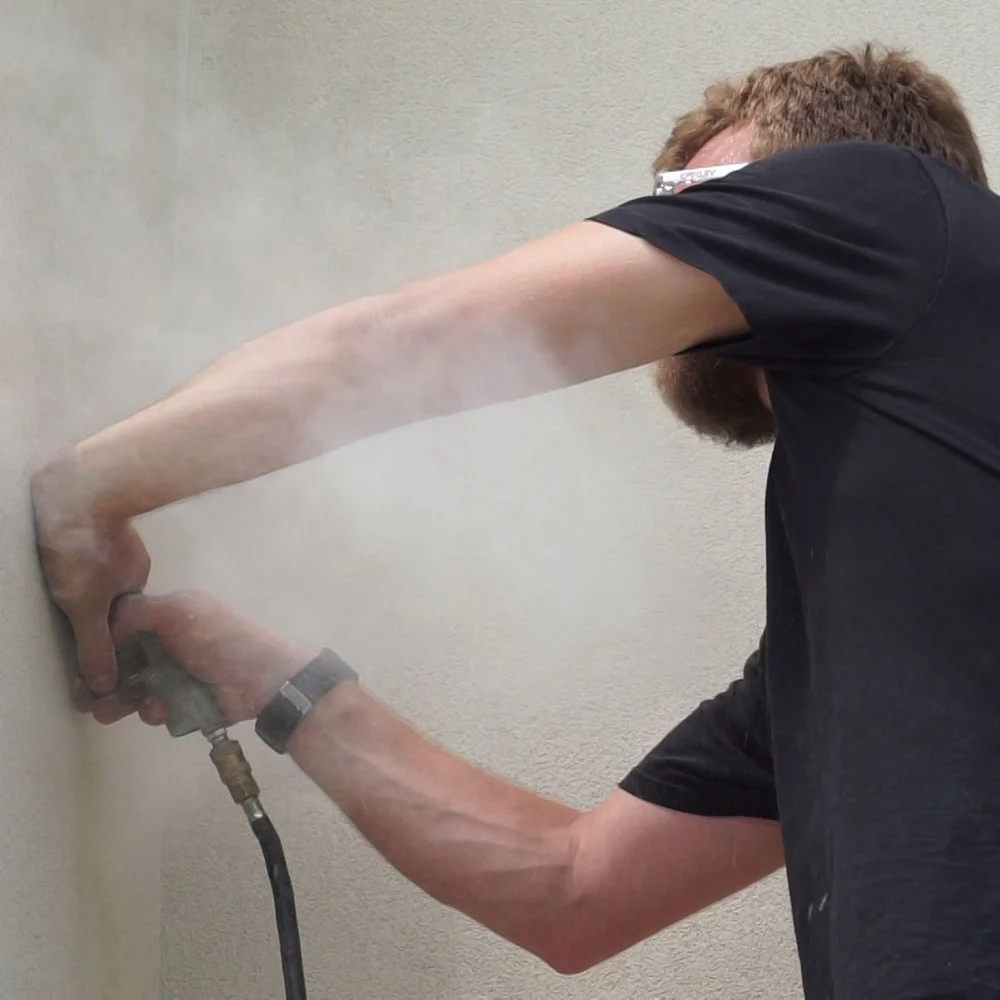
Shade sails can be cleaned with mild detergents, left for a few minutes, and thoroughly rinsed. To remove stains or halos, you can work on the area with very soft brushes so as not to ruin the fabric.
We can finally enjoy a space sheltered from sun and weather while maintaining style and originality.